I’ve got a funny history with landscaping.
Growing up moving all over the place, I’ve wound up doing my share of yardwork, farming, and even legitimate landscaping. When I first moved to Portland I wound up working for a while with an organic lanscaper; at first we did everything without any machinery. Lots of hand-work. It was a good experience and I learned and re-learned quite a bit about plants and groundscaping.
This project in NE Portland was not within my target market. The clients are wonderful people I had worked with before, and the project promised a certain amount of fun woodworking and building. The existing lawn didn’t drain well and was filled with a couple different water and electrical systems. We removed that, dug down between 6 & 8 inches to allow for a good layer of new soil.
I had the excavator dig the dry wells and we lined them with ground cloth before bringing in lined perforated pipes to each well, then filled them with gravel and covered that with a double layer of ground cloth.
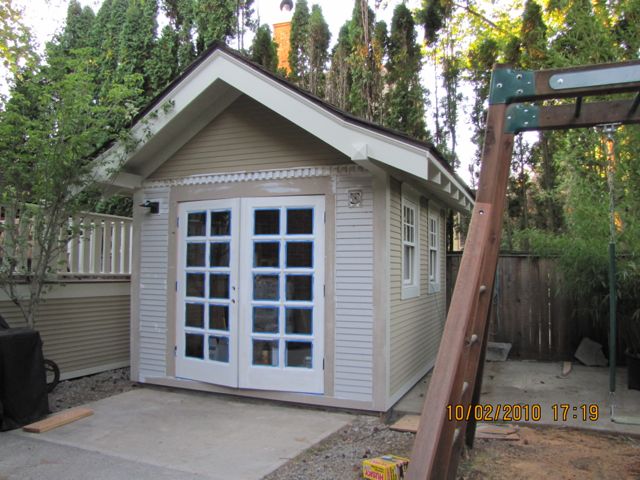
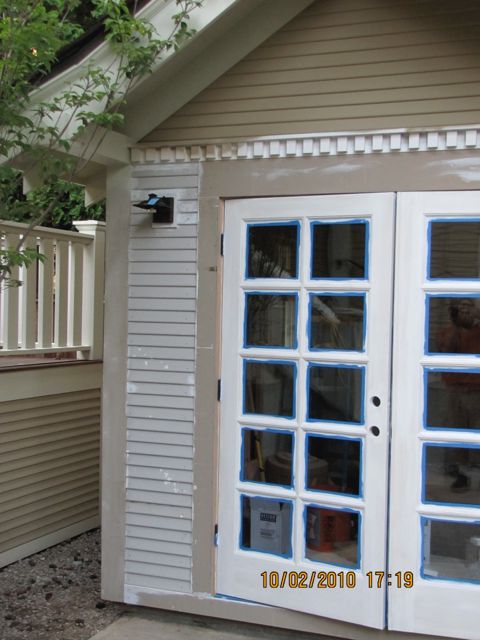
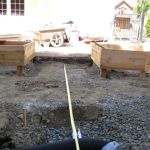
Next the foundation for the greenhouse and curbs for the bricks was poured.
New irrigation lines were laid, as well as new low-voltage wiring and conduit to bring power to the greenhouse.
Raised garden beds built and installed, with a groundcloth lining (photos of which were incorporated into an article on how to use routers that was published in Professional Deck Builder magazine).
Then the brick was installed and grouted.
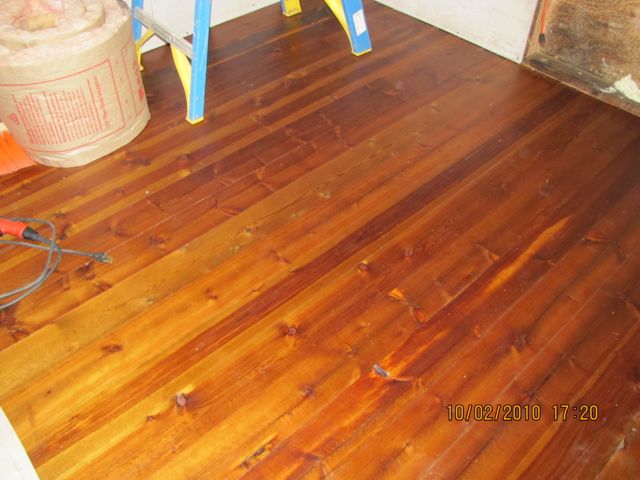
Finally, we were ready for dirt. We removed about 60 yards of soil from the lawn. It took over 100 yards to fill the lawn and build some berms, another 20 yards to fill the garden beds, and 40 yards of gravel (10 yards for the dry-wells, 10 yards of compacted 3/4- inside the greenhouse, and another 20 yards of 1/4-10 for the paths and greenhouse floor.
A 3-way mix was used for most of the fill. The berms and other planting areas had a layer of mushroom compost tilled in before planting.
We brought in the greenhouse before planting.
Then the arbor was built and installed while the small bit of sod was installed, the berms were planted, and the garden beds filled with roses and various vegetables. Oh- there is a path next to the greenhouse that isn’t easily visible in the photos that is lined with 3/16 steel rather than brick.
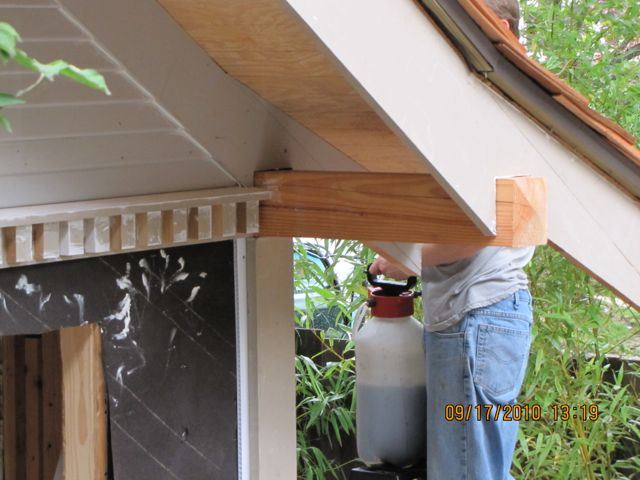
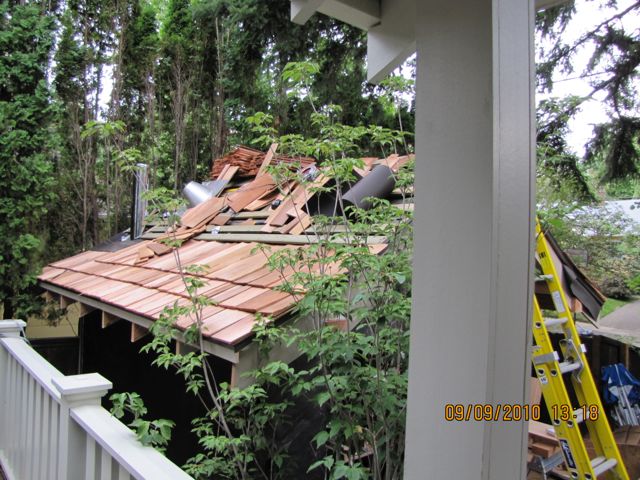 Installing roofing- cedar shingle. This is a plywood roof, then felt, then a layer of battens running up the slope, then skip sheathing over that. The felt is installed with shake felt, with insect screening at the eaves and rake.
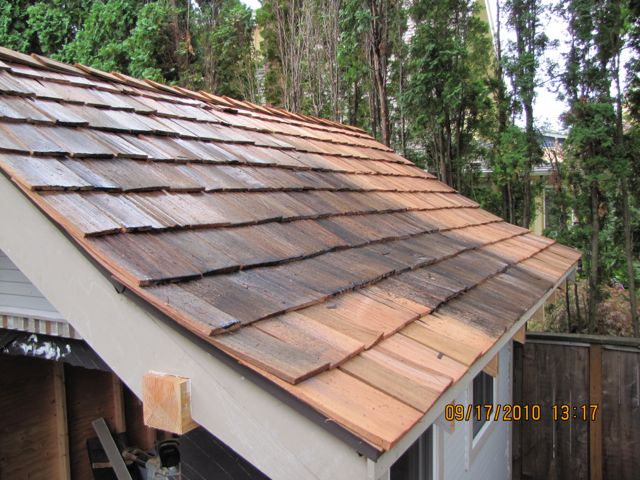


You must be logged in to post a comment.